Understanding the Basics of Sand Art
Sand art is a unique and captivating form of artistic expression that involves manipulating and shaping sand to create stunning designs and sculptures. It offers individuals a creative outlet and a medium through which they can showcase their artistic skills. By learning sand art, one can dive into a world of endless possibilities, where imagination runs wild, and intricate designs come to life.
To embark on this artistic journey, it is essential to familiarize oneself with the basics of sand art. By understanding the fundamental principles and techniques, one can gradually develop the necessary skills and expertise to create visually striking sand art pieces. Learning the art of sand manipulation and becoming proficient in various sand sculpting techniques are the vital first steps towards mastering this art form. With practice and dedication, anyone can learn sand art and explore the limitless potential it offers.
Exploring Different Types of Sand and Their Characteristics
The type of sand used in sand art can greatly affect the outcome of your creations. One common type of sand used is play sand, which is fine-grained and perfect for beginners, especially those in kindergarten who are just starting to explore the world of sand art. Play sand is easy to work with and has a smooth texture, making it ideal for shaping and sculpting into various forms. Another type of sand commonly used in sand art is colored sand. This sand can be found in a wide range of vibrant colors, allowing artists to create eye-catching designs and patterns. Colored sand is often used to enhance the overall visual appeal of sand art projects, adding a delightful touch of color and depth. Whether you choose play sand or colored sand, both types offer unique characteristics that can elevate your sand art creations.
Selecting the Right Tools and Materials for Sand Art
When it comes to creating intricate and stunning sand art pieces, selecting the right tools and materials is essential. The first step is to choose the type of sand you will be using. There are various types available, each with its own unique characteristics. For finer details and smoother textures, opt for fine-grained sand. On the other hand, if you desire a more rugged and textured finish, coarser sand would be the better choice. Experimenting with different types of sand can provide various effects and add depth to your sand art creations.
In addition to the sand, you will need a few essential tools for shaping and sculpting your art. The most basic tool is a small brush or paintbrush, which can be used to move the sand around and create intricate patterns. Alternatively, a palette knife or spatula can be used for more sculptural work, allowing you to carve and shape the sand with precision. It is also handy to have an assortment of small containers to hold different colors of sand, allowing for easy access and organization while working. Don’t be afraid to get creative and explore various materials and tools as you develop your own unique sand art style.
Preparing Your Workspace for Sand Art Creations
To ensure a smooth and enjoyable sand art making experience, it is essential to prepare your workspace properly. The first step is to find a suitable location for your sand art creation. Look for an area with ample space and good ventilation to avoid any discomfort or accidents during the process. Clear away any objects or clutter that could hinder your movements and creativity. Remember, a clean and organized workspace sets the foundation for a productive sand art making session.
Once you have found the perfect spot, protect your work surface by spreading a plastic sheet or old newspapers. Sand can be messy, and having a barrier will make cleanup much easier. Additionally, consider having a towel or cloth nearby to wipe excess sand off your hands and tools as you work. This will help you maintain control and precision in your sand art designs. Investing a few minutes in preparing your workspace will save you time and stress later, and allow you to fully immerse yourself in the art of sand manipulation.
Learning Various Techniques for Shaping and Sculpting Sand
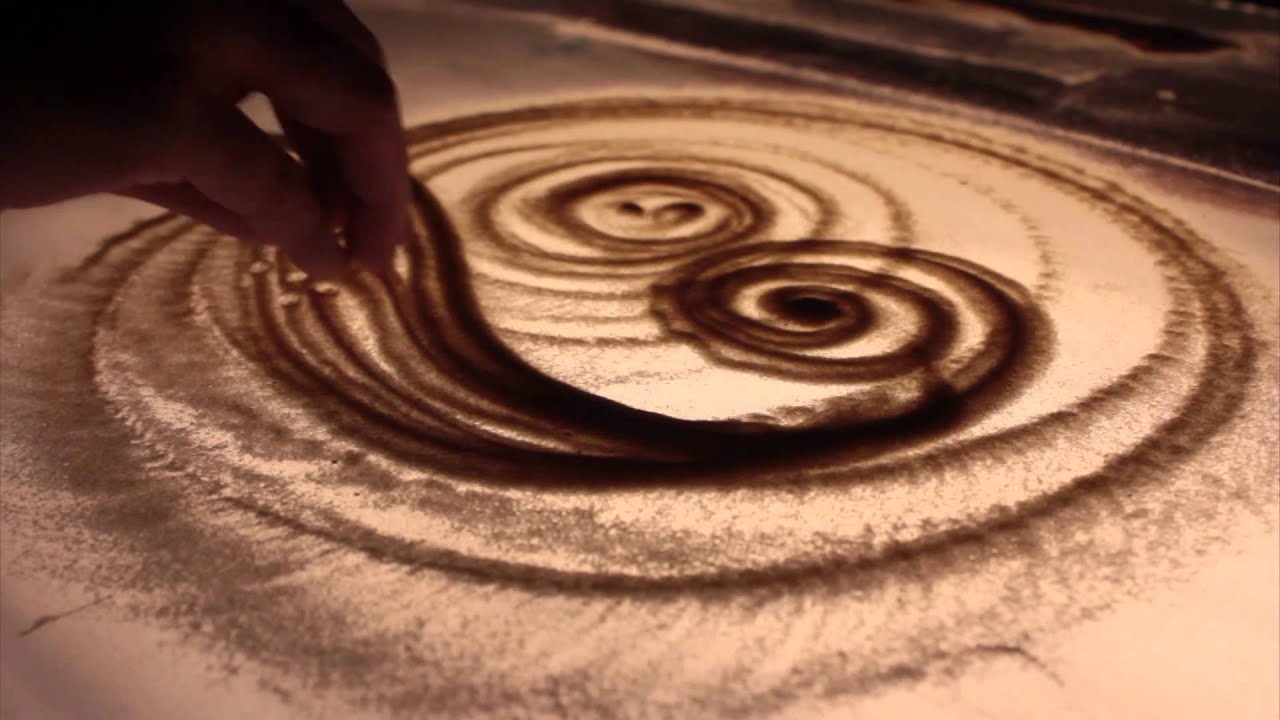
When it comes to sand art drawing, learning various techniques for shaping and sculpting sand is essential. These techniques allow artists to bring their creative visions to life in a three-dimensional form. One common technique involves using hands and fingers to manipulate the sand, giving it shape and form. This hands-on approach allows for a more intimate connection with the medium, allowing the artist to feel the texture and malleability of the sand as they work.
Another technique for shaping and sculpting sand is using tools such as shapers and carving knives. These tools provide precision and control, enabling artists to create intricate details and intricate designs in their sand art creations. By experimenting with different tools and techniques, artists can discover unique ways to shape and manipulate the sand, creating visually stunning and captivating pieces of art. Whether it’s a simple, elegant design or a complex, intricate sculpture, learning these techniques opens up endless possibilities in the world of sand art.
Mastering the Art of Layering Colors in Sand Art
When it comes to sand art, mastering the art of layering colors is an essential skill that can take your creations to new heights. Layering colors in sand art adds depth, dimension, and complexity, allowing you to create visually stunning designs that evoke a range of emotions. By strategically placing different colors of sand on top of each other, you can achieve beautiful gradients, transitions, and contrasts that bring your artwork to life. Experimenting with different color combinations and layering techniques is key to developing your own unique style in sand art.
To create effective color layering in sand art, it is important to consider the characteristics of each type of sand you use. Different sands have varying levels of graininess, which can affect how colors blend and interact with one another. Fine-grained sands are ideal for achieving smooth transitions and delicate gradients, while coarse-grained sands can create bold, textured effects. By understanding the properties of the sands you work with, you can select the right materials to achieve the desired outcome in your color layering technique.
Creating Texture and Patterns in Sand Art Designs
When it comes to creating texture and patterns in sand art designs, the possibilities are truly endless. Artists like Kseniya Simonova have mastered the art of manipulating sand to create captivating textures and intricate patterns. One technique that is commonly used is called raking, where a thin instrument is used to create lines and patterns in the sand. By carefully dragging the tool through the sand, artists can create beautiful textures that mimic the look of waves or other natural elements. Another technique involves using different tools to create patterns of varying depth and texture on the surface of the sand. This can be achieved by carefully pressing objects into the sand or by using tools with different textures and shapes. By playing with these techniques and experimenting with different tools, artists can create unique and visually striking sand art designs that capture the imagination.
Incorporating Different Elements and Objects into Sand Art Creations
When it comes to creating captivating sand art pieces, incorporating different elements and objects can take your creations to the next level. With some creativity and imagination, you can transform a simple sand sculpture into a visually stunning masterpiece. But how can you learn to incorporate various elements and objects into your sand art? Here are a few techniques to get you started.
One way to enhance your sand art is by adding small objects such as seashells, pebbles, or even pieces of driftwood. These items can be strategically placed within your sand sculpture to create texture, contrast, and visual interest. The key is to experiment with different combinations and arrangements to find what works best for your design. Additionally, you can explore using other natural materials like dried flowers or feathers to add a unique touch to your sand art creations. Experimenting with different elements and objects can truly elevate your sand art and make it more engaging for viewers.
Enhancing Your Sand Art with Finishing Touches and Details
When it comes to enhancing your sand art with finishing touches and details, there are endless possibilities to explore. One way to elevate your creations is by incorporating kinetic elements into the design. Kinetic sand art canvases are becoming increasingly popular, allowing for a dynamic and interactive experience. By adding small motors or using specially designed frames, you can bring movement to your sand art, captivating viewers with a mesmerizing display. This innovative approach adds another dimension to your artwork, making it truly stand out.
In addition to kinetic elements, paying attention to the finer details can make a significant impact on your sand art. Consider using different types of sand to create texture and depth in your designs. Experiment with various grains, colors, and coarseness to achieve the desired effect. Furthermore, you can enhance your sand art by incorporating additional materials such as seashells, pebbles, or small objects that complement the overall theme. These subtle additions can add a touch of uniqueness and visual interest to your masterpiece,making it even more captivating for viewers to admire.
Displaying and Preserving Your Sand Art Masterpieces
Once you have finished creating your stunning geometric sand art masterpiece, the next step is to find a suitable way to display it. One option is to use a clear glass container or shadow box, which will allow the intricate details of your design to be easily seen. You can carefully pour the layers of colored sand into the container, making sure to preserve the integrity of the pattern. If you prefer a more interactive display, you can use a shallow tray or table and create a sandbox-like environment with the sand art as the centerpiece. This will not only showcase your creation but also allow viewers to touch and feel the texture of the sand.
Preserving your sand art is crucial to ensure its longevity and prevent any accidental damage. One method is to spray a layer of clear varnish over the finished piece, which will help to lock the sand particles in place and protect them from shifting or smudging. It is important to let the varnish dry thoroughly before moving or handling the artwork. Another option is to carefully place the sand art inside a sealed glass frame to prevent any external factors, such as dust or moisture, from affecting its appearance. Additionally, storing your sand art in a cool and dry environment will help maintain its vibrant colors and keep it looking as beautiful as the day it was created.

